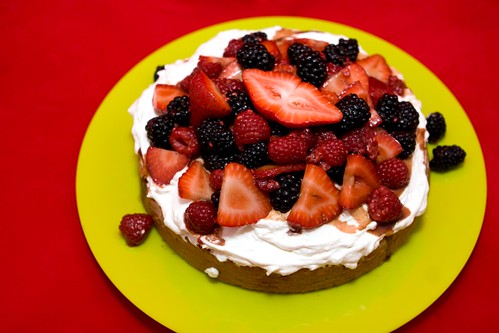
Hot Milk Sponge Cake with Balsamic Berries and Stabilized Whipped Cream
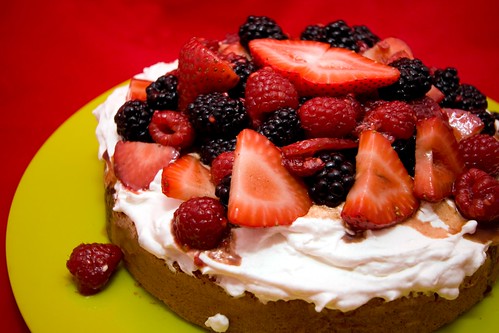
For reasons I can’t even explain, I had been non-stop craving a light cake with berries and cream for the past couple of weeks. Totally random thing to crave, I know, but nonetheless it wouldn’t let up and I knew I had to act, hah.
I found this recipe for a basic sponge cake and it looked absolutely perfect. The suggestion was to serve it with balsamic berries and my-oh-my…. DELICIOUS!
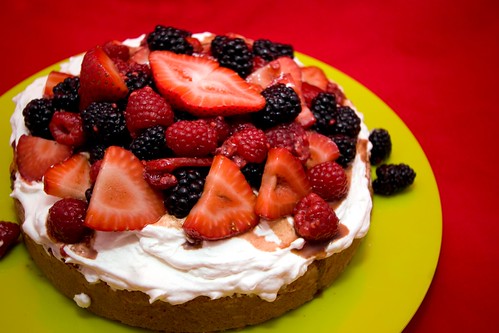
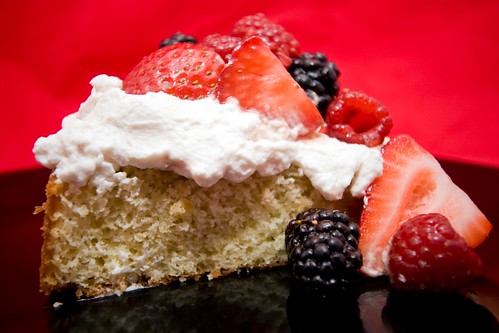
This cake far exceeded my expectations. It is so light, sweet, and amazingly moist, and paired with the slightly sweetened whipped cream and balsamic macerated berries it was absolutely out-of-this-world! I am SOOO glad that the recipe made two cakes because I could not wait to dig in to one straight out of the oven before I could manage to take even a single picture. A really great perk about this cake is that the whipped cream is stabilized so it will hold it’s shape for hours (even days!).
This cake makes an outrageously beautiful and simple summer dessert.

Guess what? This is my 100th post on my blog! I can’t believe it! It seems like I just started it yesterday, hah, but it’s been eight months already!
To show my appreciation for the support that you all have given me in my cooking/baking endeavors, I will be doing a giveaway on my 108th post. 8 is my lucky number so that’s my logic behind the odd choice, so keep an eye out for a potential special gift from me to you :P!
Hot Milk Sponge Cake
recipe from here
ingredients:
- 2 cups all-purpose flour
- 2 tsp baking powder
- 1 tsp sea salt
- 4 large eggs
- 2 cups granulated sugar
- 1 cup whole milk
- 2 tbsp butter
- 2 tsp vanilla extract
- Preheat oven to 350 degrees. Butter and flour two 9-inch round cake pans (or one 13×9-inch pan).
- In a medium bowl, combine the flour, baking powder, and salt and set aside.
- In the bowl of an electric mixer fitted with the whisk attachment, beat the eggs for around 4 minutes. With the mixer on medium speed, slowly add in the sugar and beat for about 7-8 minutes until the mixture is thick and comes off of the whisk in a ribbon when the whisk is lifted.
- While the eggs and sugar are beating, bring the milk and butter to a low boil in a small saucepan. Remove from heat and stir in the vanilla.
- With the mixer running on medium speed, slowly add the hot milk mixture to the egg/sugar mixture and mix until combined. Reduce the speed to low and slowly add in t he flour mixture just until combined. Immediately pour the batter into the prepared pans and place in the oven.
- Bake for 20-25 minutes or until the edges are golden and slightly pulling away from the sides. A toothpick inserted into the center should come out clean. Leave the cake in the pan for around 5 minutes to cool before turing the cake out onto a rack to cool further.
- Top with whipped cream and balsamic berries (recipes below).
Stabilized Whipped Cream
ingredients:
- 2 cups heavy whipping cream
- 2 tsp vanilla
- 2 tbsp confectioners’ sugar
- 2 tbsp cool water
- 1 tsp plain gelatin
- About 15-20 minutes before you want to make your whipped cream, pop the bowl (metal please) and beaters you will be using into the freezer.
- Combine the cool water and gelatin in a small bowl and allow to sit for about 5 minutes so that the gelatin can absorb, then place it in the microwave for about 5-10 seconds until liquid and allow to cool to room temperature (make sure it is still a liquid!).
- Beat the cream, vanilla, and sugar together until slightly stiff. Add in the gelatin/water and beat until stiff peaks form.
Balsamic Berries
ingredients:
- 2 cups mixed berries (I used sliced strawberries, raspberries, and blackberries), washed
- 1 tbsp + 1 tsp aged balsamic vinegar
- 2 tbsp fine grain sugar (caster sugar)
- pinch of freshly ground pepper
- Combine all of the ingredients together in a bowl and toss to combine. Refrigerate for 15-30 minutes before serving.
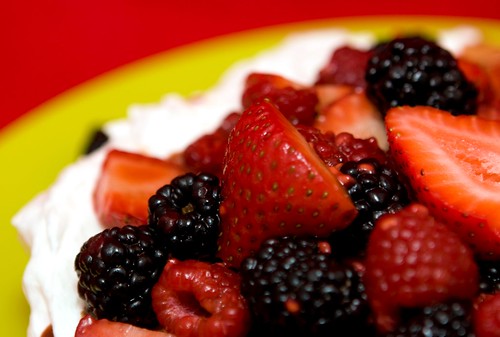











What a great way to enjoy all of those summer berries!
I love deserts with berries! I have never had one though. I guess I'll have to bake it myself.I left you something on my blog 🙂