My First Craft Show Experience
 This past weekend I participated in my very first craft fair! I was contacted through Etsy a couple of months ago about possibly being a vendor at a local holiday bazaar. Honestly, I had never even considered selling at craft fairs but it sounded like an interesting, fun, new experience, so I sent in my check for the booth space and started doing some research.
Apparently, craft fairs are serious business, at least according to the copious amount of literature about them on the internet—everything from exactly how to set-up your table, the perfect packaging, if you should stand or sit to greet customers, to how to engage with your audience. I had no idea. I immediately felt overwhelmed and almost backed out on at least three different occasions.
But! I didn’t! And I couldn’t be more pleased! I learned so much from the experience, and actually sold quite a bit despite the very small crowd. The best part, though, was seeing people genuinely excited about my food and branding! It was extremely flattering to have other vendors ask about my “professional” setup when I had been nervous that it wouldn’t be good enough. I can definitely see myself doing more in the future.
I thought I’d share how I approached the bazaar in terms of products, packaging , and table setup since I received so much of my inspiration from other blogs.
What did I sell?
I knew that I didn’t want to overload myself with too many different products to pump out, but I also wanted to offer a variety. Additionally, since this was a holiday bazaar where people were undoubtedly going to be purchasing holiday gifts, I wanted to be sure I was offering a few products that would actually keep for a while. I chose to include my two favorite granolas: Pumpkin-Chai and Very Berry Dark Chocolate (which is a decidedly more delicious variation of my Dark Chocolate Granola), along with my Orange-Rosemary Mixed Nuts.
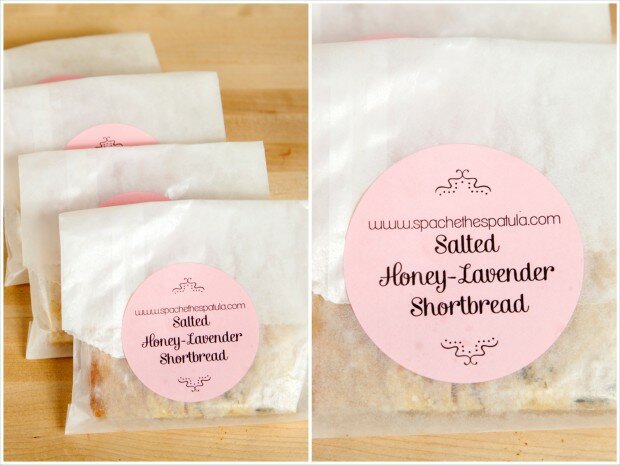
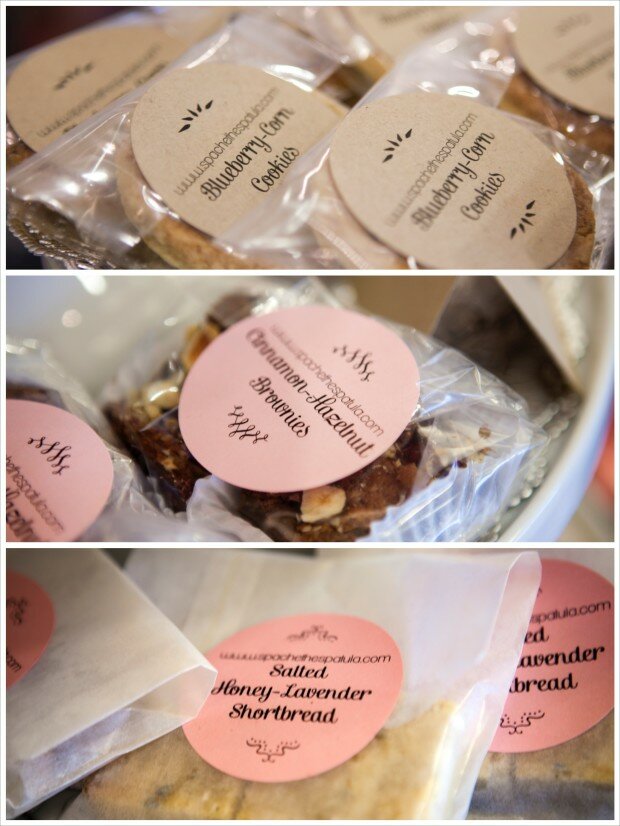
I also want to offer a couple “baked goods” options. I chose my Salted Honey Lavender Shortbread and my Cinnamon-Hazelnut Brownies. There was also an eleventh hour decision (I literally made them at midnight the night before) to include my variation of the Corn Cookies, which paid off as they proved to be the best-seller!
How did I approach packaging?
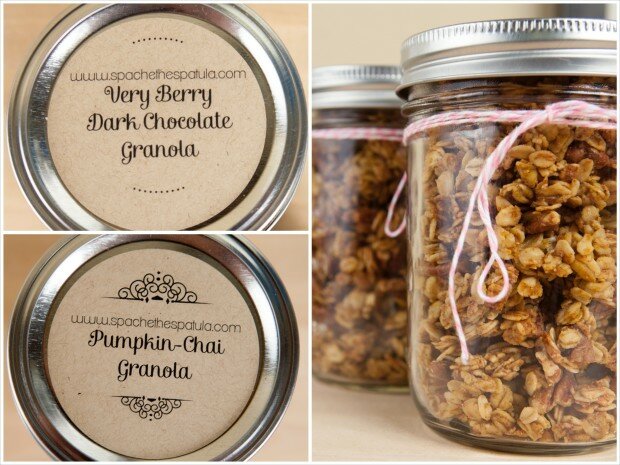
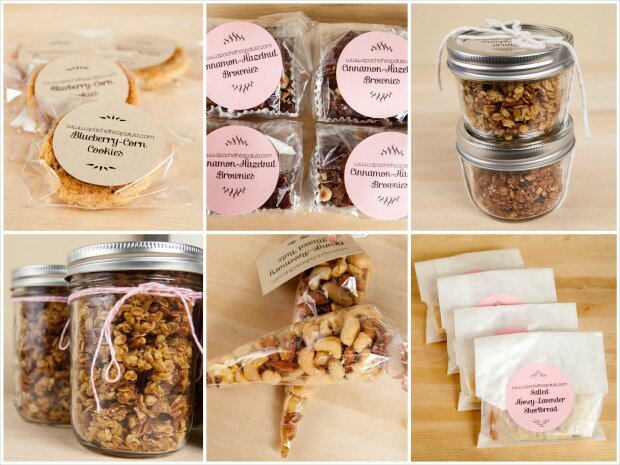 I really wanted to keep things simple, cute, and professional, with a homemade flair. I opted to utilize the two main colors present in my branding: pink and brown. I purchased a bunch of 2.5″ circle labels from PaperSource in “blossom” and “paper bag”, as well as some of their printable business cards to use as tags. I created the designs in Word using the templates they provide on their website and printed them out—so, so easy and so, so cute.
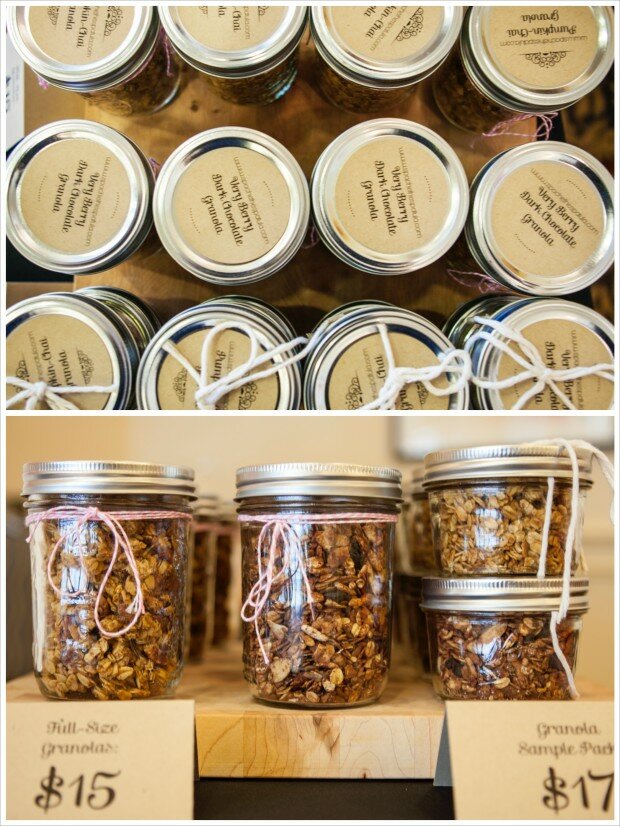
I packaged the granolas in pint-sized, wide-mouth mason jars with the circle labels on top. I tied some pink bakers twine around each jar a few times.
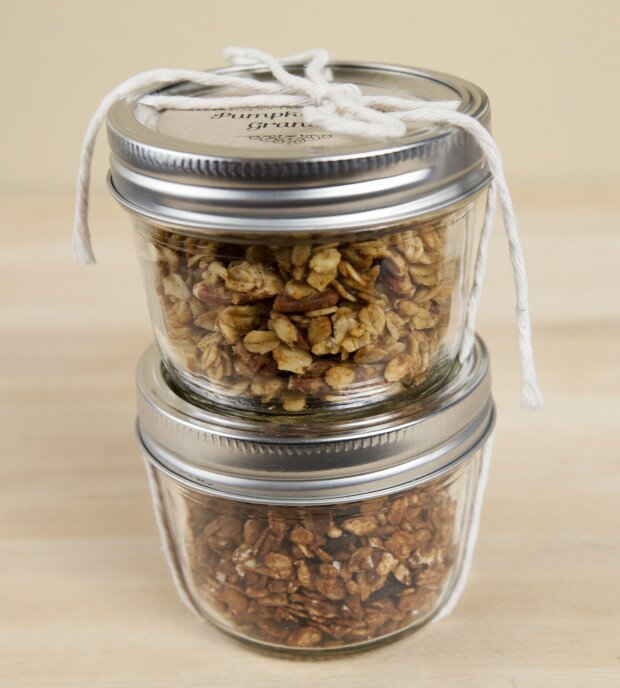
 I also had a few “sample packs” of granola that included both flavors packages in half-pint, wide-mouth mason jars. They were stacked atop each other and secured with butchers twine that I fed through the twist on rings to hold them in place.
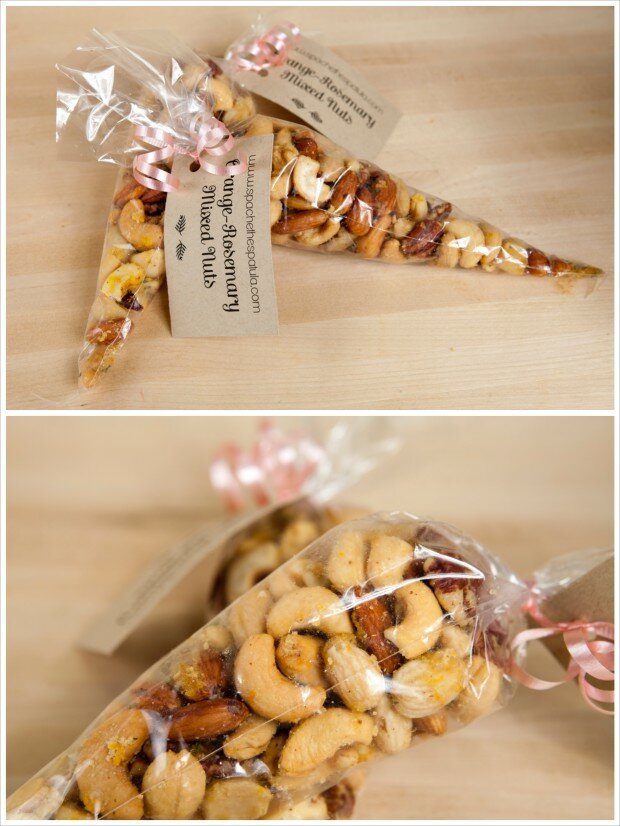
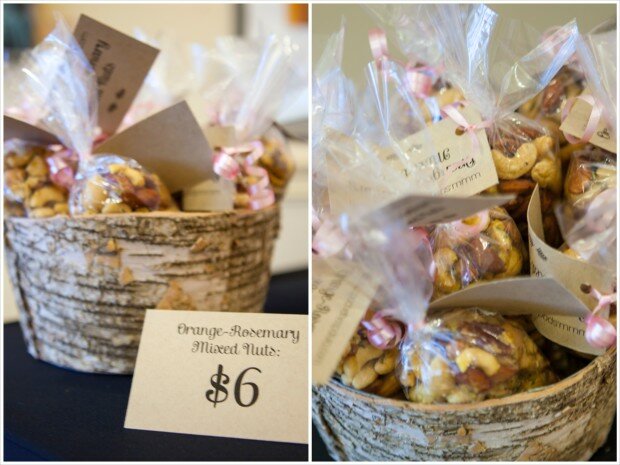
 The nuts are packaged in cone-shaped bags, secured with simple pink ribbon that I tied through the tags and then curled.
 The shortbread was simply placed in a small glassine bag that I folded over and sealed with the label.
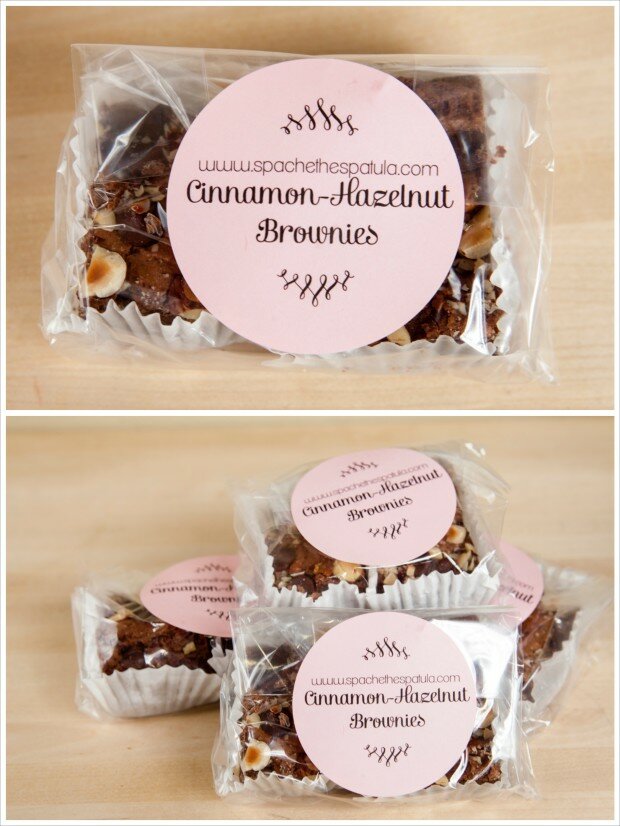
 The brownies were the trickiest to package due to how thick they are, and how uneven the tops are because of the nuts and chocolate chips. I ended up putting each brownie inside a muffin liner before putting two inside a clear gift bag, folding the excess around, and sealing it with a circle label.
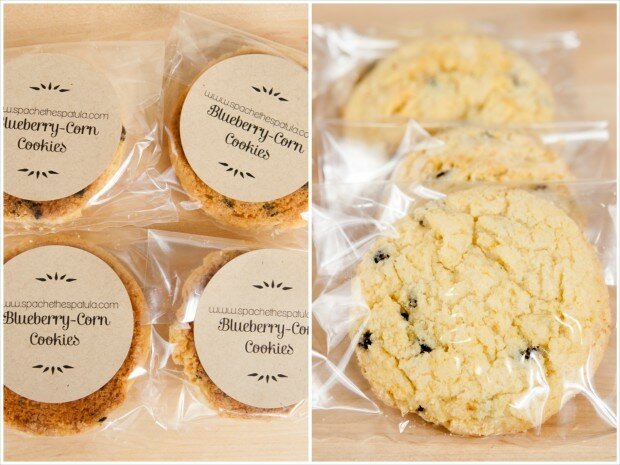
 The corn cookies were packaged in mini plastic bags that I made myself with my roll of poly tubing. I cut lengths of about 6 inches, then, with my impulse sealer, I sealed one end. I popped a cookie in, folded over the excess, and slapped a sticker on it.
 How did I setup my table?
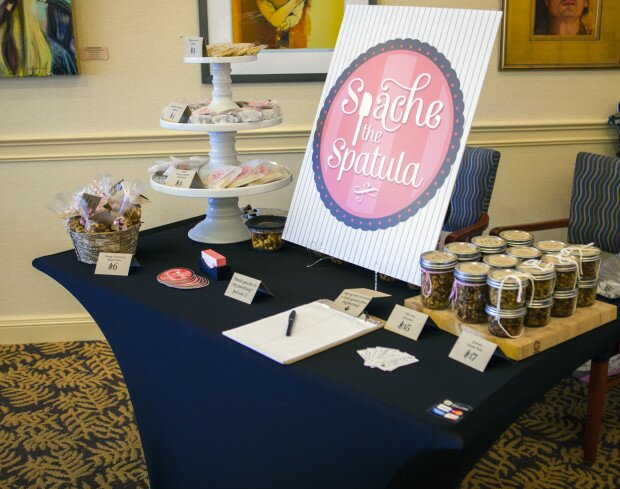 I think the most important part of my table setup was my table cloth. I purchased this one off of Amazon because it kills two birds with one stone. Because it is stretchy, it acts as both the table cloth and the table skirt. Plus, I got multiple compliments on it 🙂 I went with black because it looks professional, it is more difficult to see any food crumbles or stains on, and it is adaptable to all occasions.
The giant sign in the center is the same one that Mikey’s parents made for me for the murder mystery party that I catered last year. They also lent me those awesome stacking cake stands that I placed all of the “baked goods” on, which gave my table height (and looked super cute).
 I displayed my granolas on a butcher’s block because I wanted to bring some kitchen elements to my table to make it feel “homey.”
 I displayed the nuts in this amazing birch tin I found at the Container Store.
 I used the printable place card settings available at PaperSource to make signs for prices and other reminders.
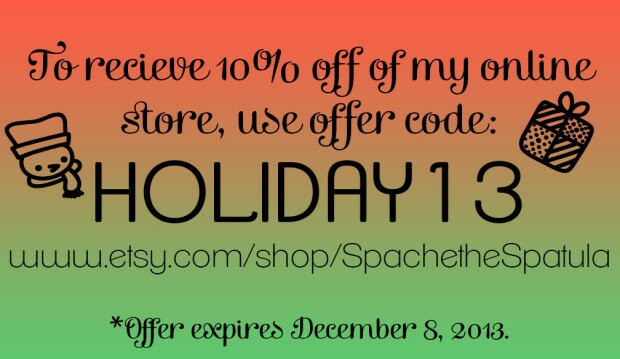
 I had a clipboard out with a signup sheet to subscribe to my weekly blog posts, as well as stickers and business cards. I also made some coupons up for 10% off of my Etsy shop that I displayed on the table so people could grab them. Here’s a more colorful version for you to use, if you wish!
 Mikey and I used a Square reader to make it possible for people to pay with credit and debit, in addition to cash, which I think was really helpful in terms of pulling in additional customers.
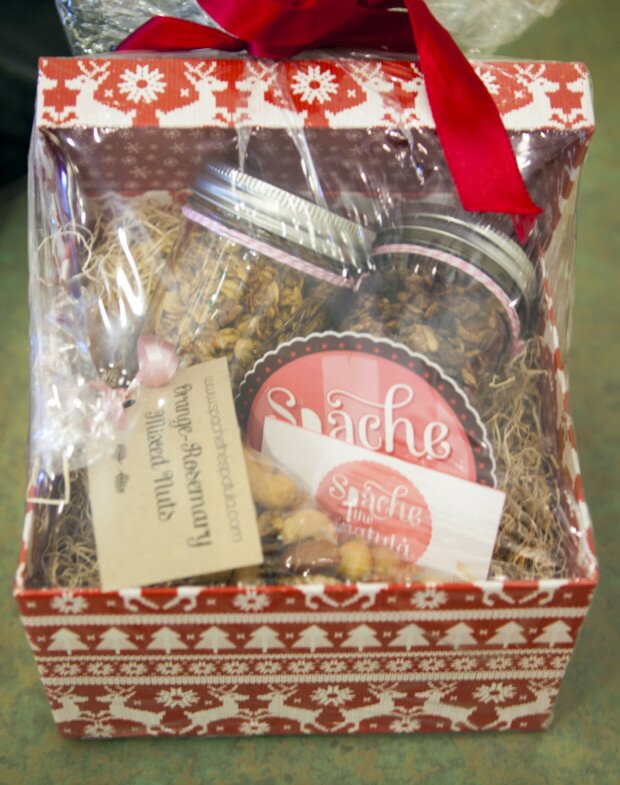
All in all, I think the day was wildly successful due to the sheer amount of knowledge I gained, and the people that enjoyed my food! I’ll leave you with the basket I donated to their raffle that included both granolas and the nuts:

I really enjoyed this post! I've been pondering selling at a market for some time but I've been nervous about all sorts of things… I really appreciate that you broke all of this down. It looks beautiful and it's very inspiring! 🙂
Rachael replied: — November 19th, 2013 @ 4:09 pm
Thank you so much, Kadee! I was hoping someone would find it helpful! I was so nervous (and honestly scared!) before actually doing it, and I had a trouble finding food-related vendor experiences online. I read a lot from non-edible craft vendors, and tried to tweak that information so that it would work for me with food. I just want to let you know that it is so much easier that it seems! You just have to jump in with both feet and do it! I recommend starting with a very small venue. I feel like because my event was so small (about 20 other vendors), and there wasn't too much traffic, I was really able to relax, chat with customers and other vendors, and truly enjoy the experience :]
Kadee replied: — November 19th, 2013 @ 7:35 pm
Yeah, that sounds much more manageable than trying to bite off more than I could chew with a big event. That's a big part of what I was worried about – figuring out the right event and knowing how much to make! I suppose it's all trial and error though, eh?!
Pingback: Goat Cheese Sugar Cookies